Carpe Iter GPS Bracket for Yamaha Tenere 700 - Mask Mount Installation Instructions
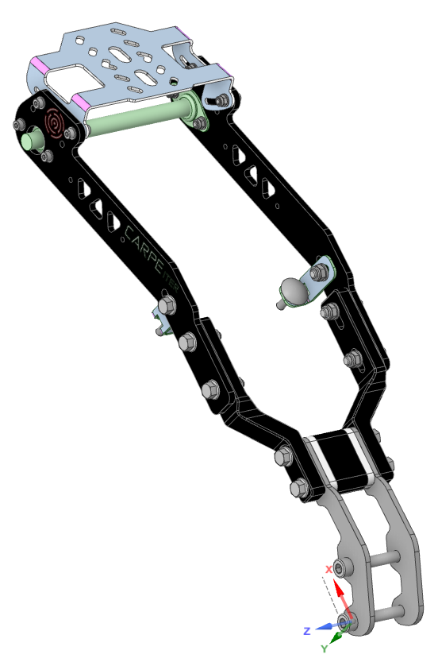
Compatibility:
- Only compatible with TFT dashboard models (MY23+).
- Mask Mount type (Frame mount is available under a separate product code).
Part Numbers: Part No. 4320 (Bracket) + Part No. 4321 (Mask Mount Kit)
Installation Steps
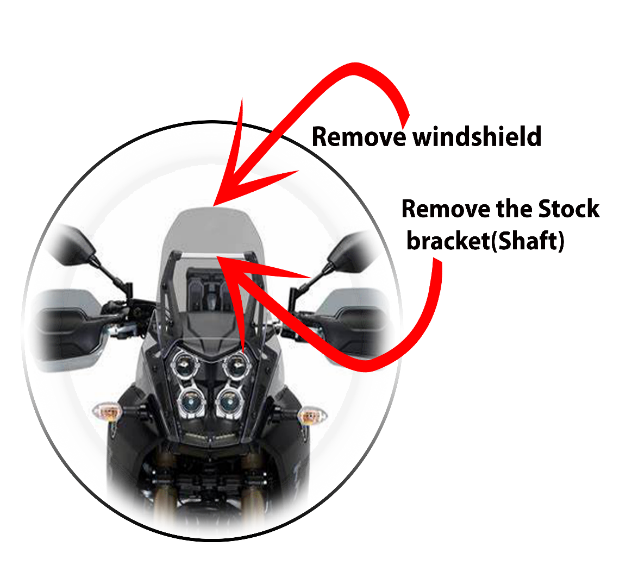
Remove windscreen and stock GPS bracket:
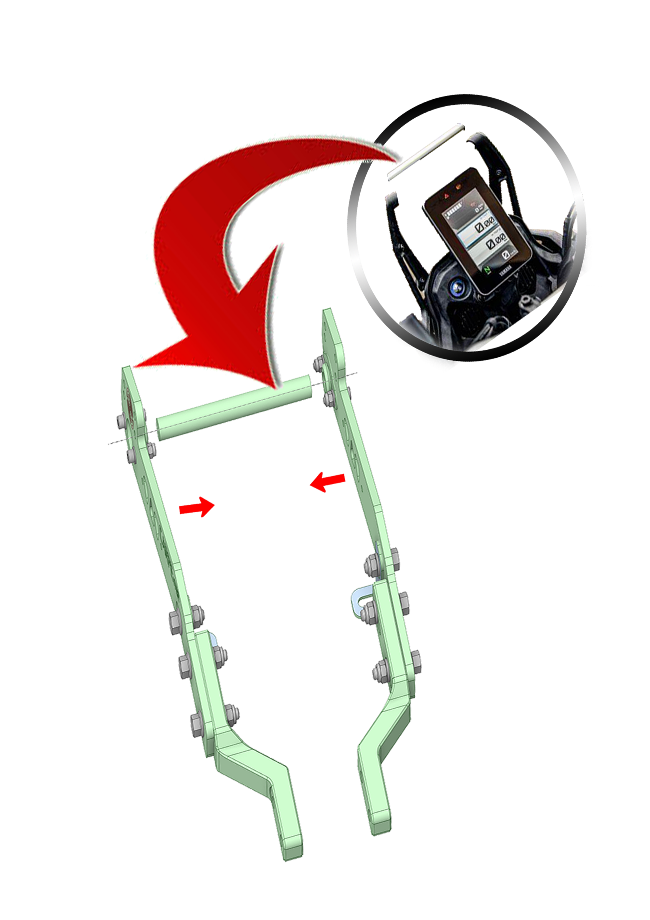
Remove the windscreen and the stock GPS bracket (shaft).
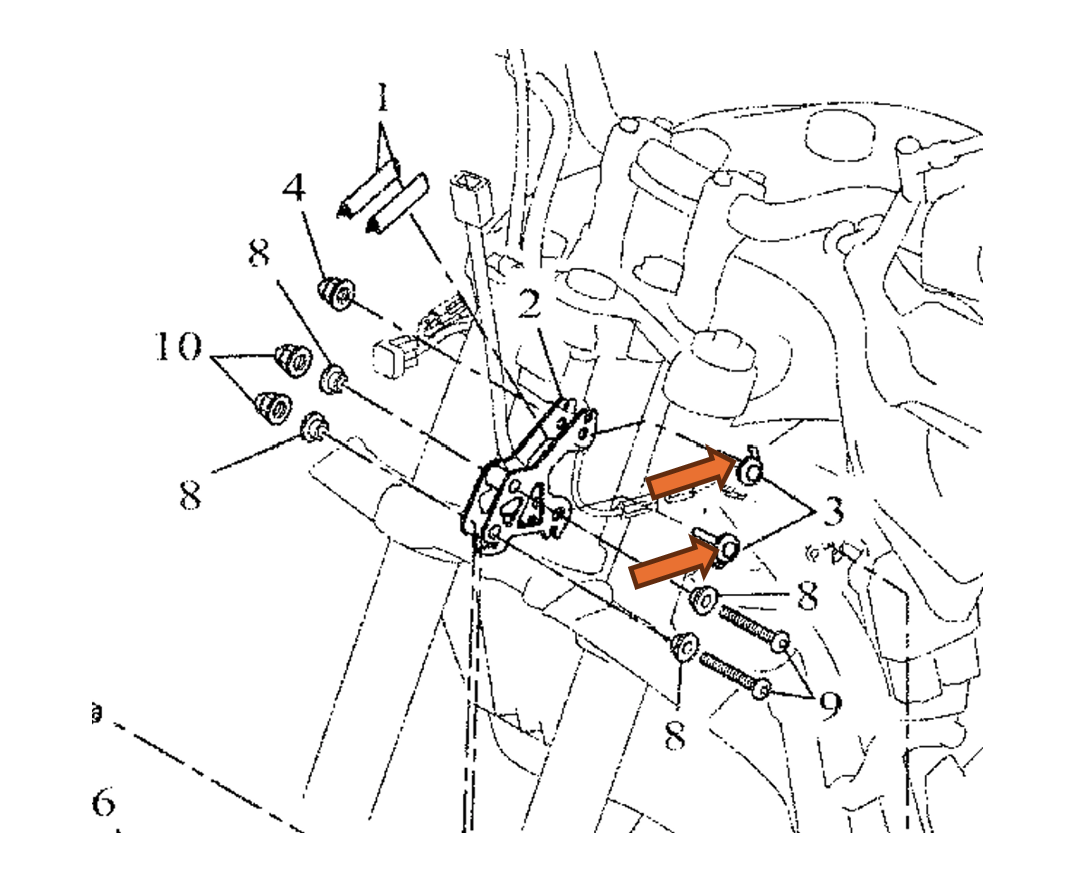
Optional – Cockpit Reinforcement Preparation:
Remove the upper two headlight mounting screws. This step is only necessary if you plan to install the cockpit reinforcement (part No. 3).
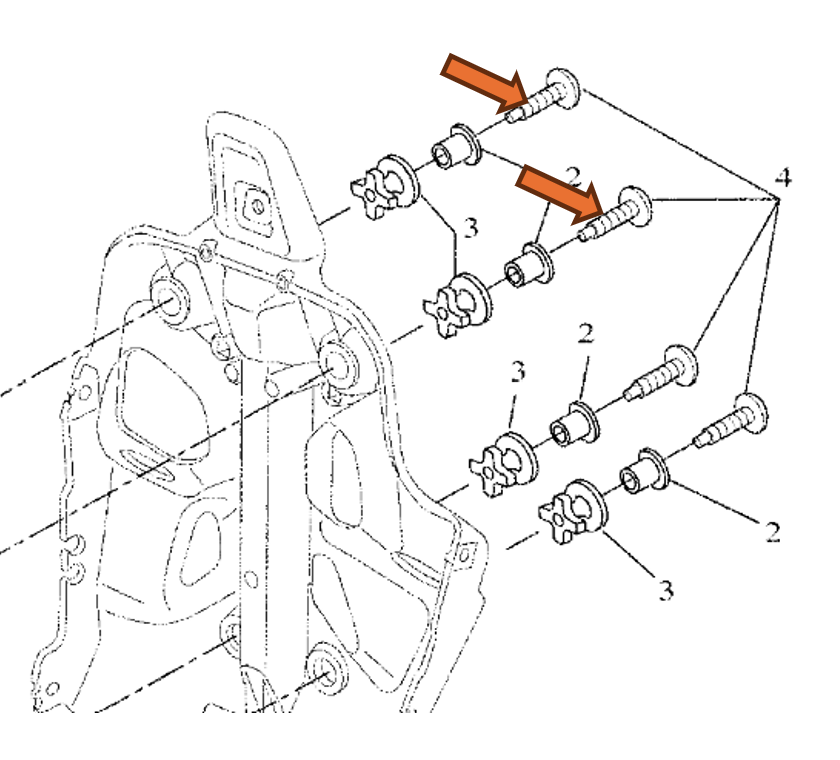
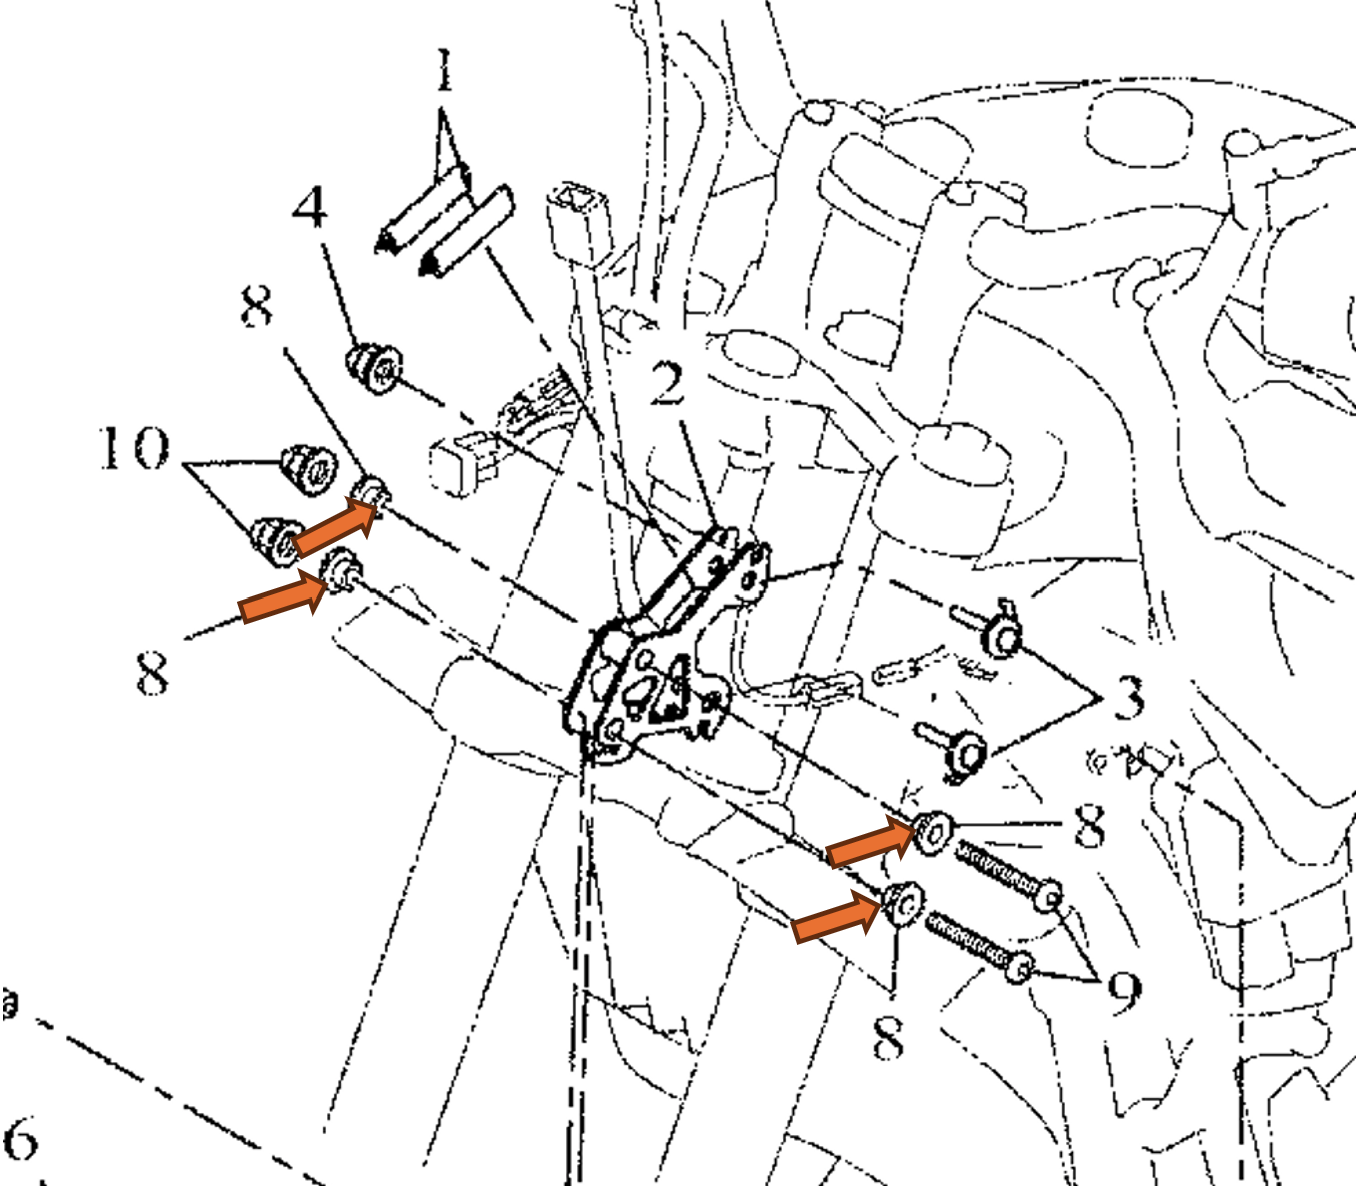
Remove subframe mounting screws:
Remove the two original M8 screws that attach the bike mask to the subframe. These will be replaced with provided screws in step 6.
Important: Ensure the original aluminum spacers remain in place.
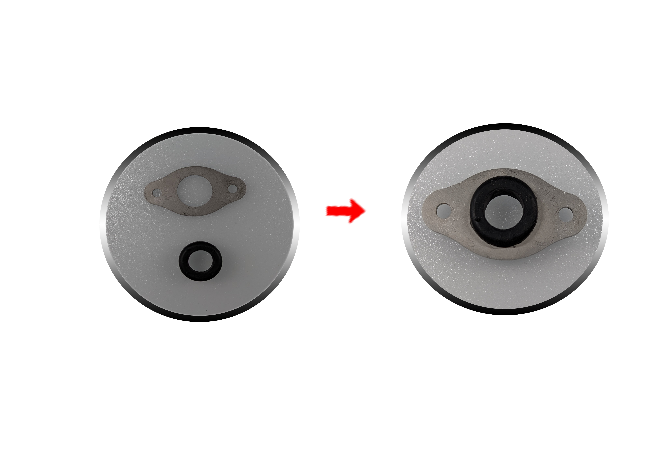
Assemble carrier plates and grommets:
Insert the rubber grommets (part No. 4b) into the stainless steel carrier plates (part No. 4a). This sub-assembly will be installed into both bracket sides in the next step.
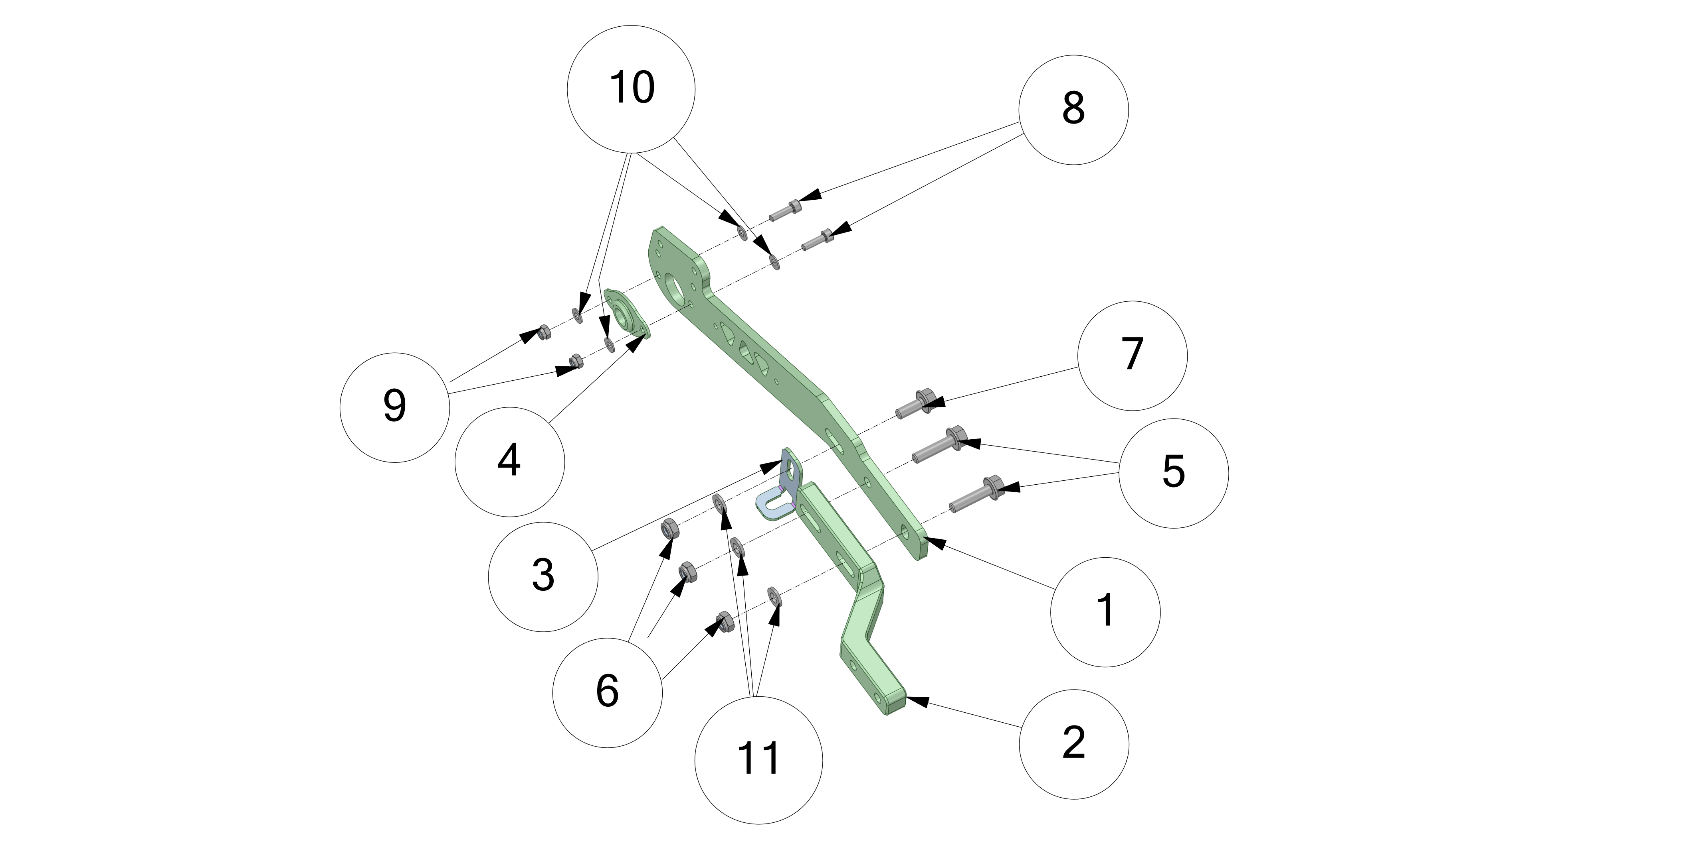
Assemble left and right bracket sides:
- Assemble the components as shown (diagram illustrates the right side; mirror the procedure for the left side).
- Do not torque the screws yet—leave sufficient slack in the assembly.
Attach mask mount to subframe:
Attach the mask mount (#14) to the bike mask subframe, ensuring correct orientation.
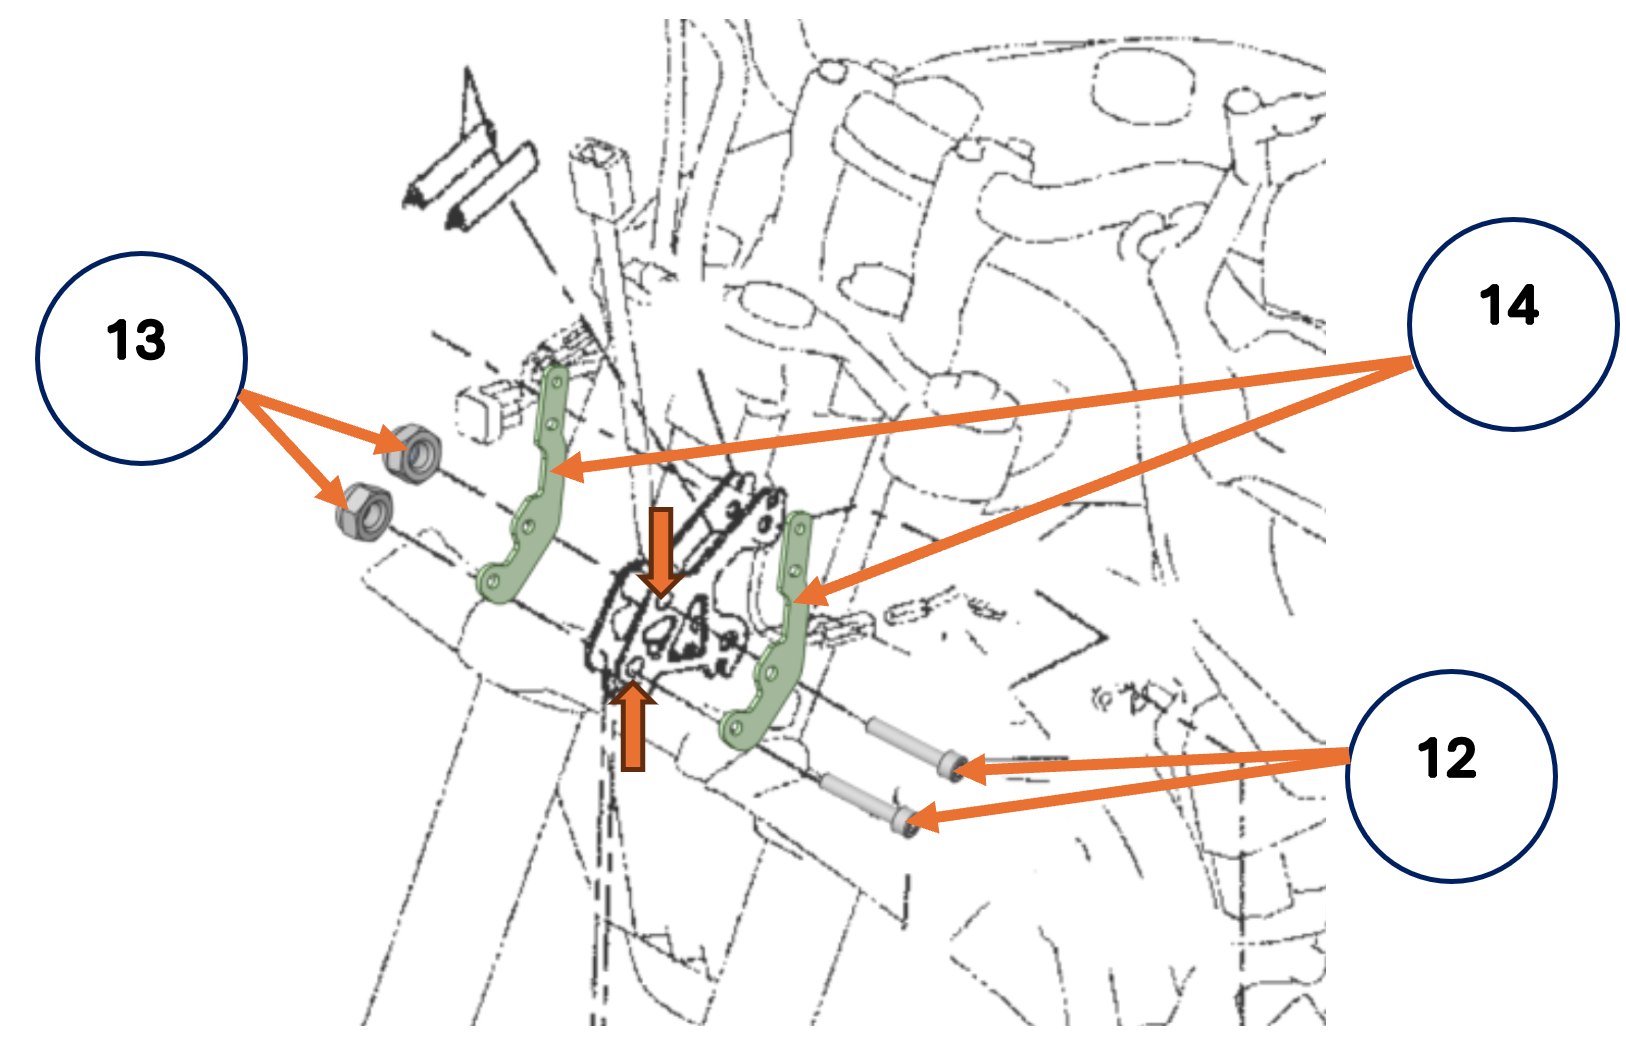
Note: Ensure the original aluminum spacers stay in place between the bike cockpit and the mask mount (#14).
Insert the stock GPS shaft into the rubber grommets (#4a) installed in step 6, then reinstall the entire assembly into the windscreen supports.
Attach bracket sides to the bottom mask mount (#14):
Tip: Attach one side of the bracket first, followed by the second side, to simplify alignment.
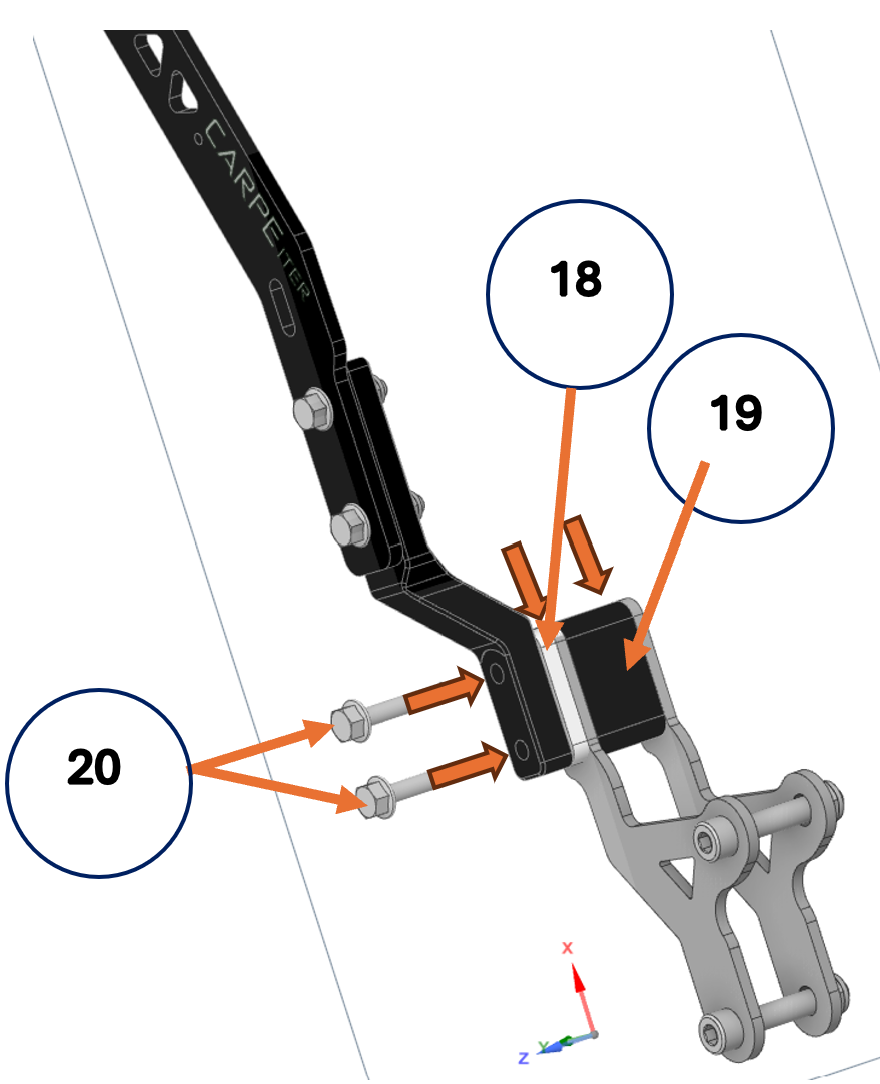
- Align the central stand-off (#19) and the left spacer (#18) with the mounting holes in the mask mount (#14) and hold them in place. Both the stand-off and spacer fit inside the mask mount (#14). Attach the left side of the bracket using the M6 mounting screws (#20). Do not fully torque the screws yet.
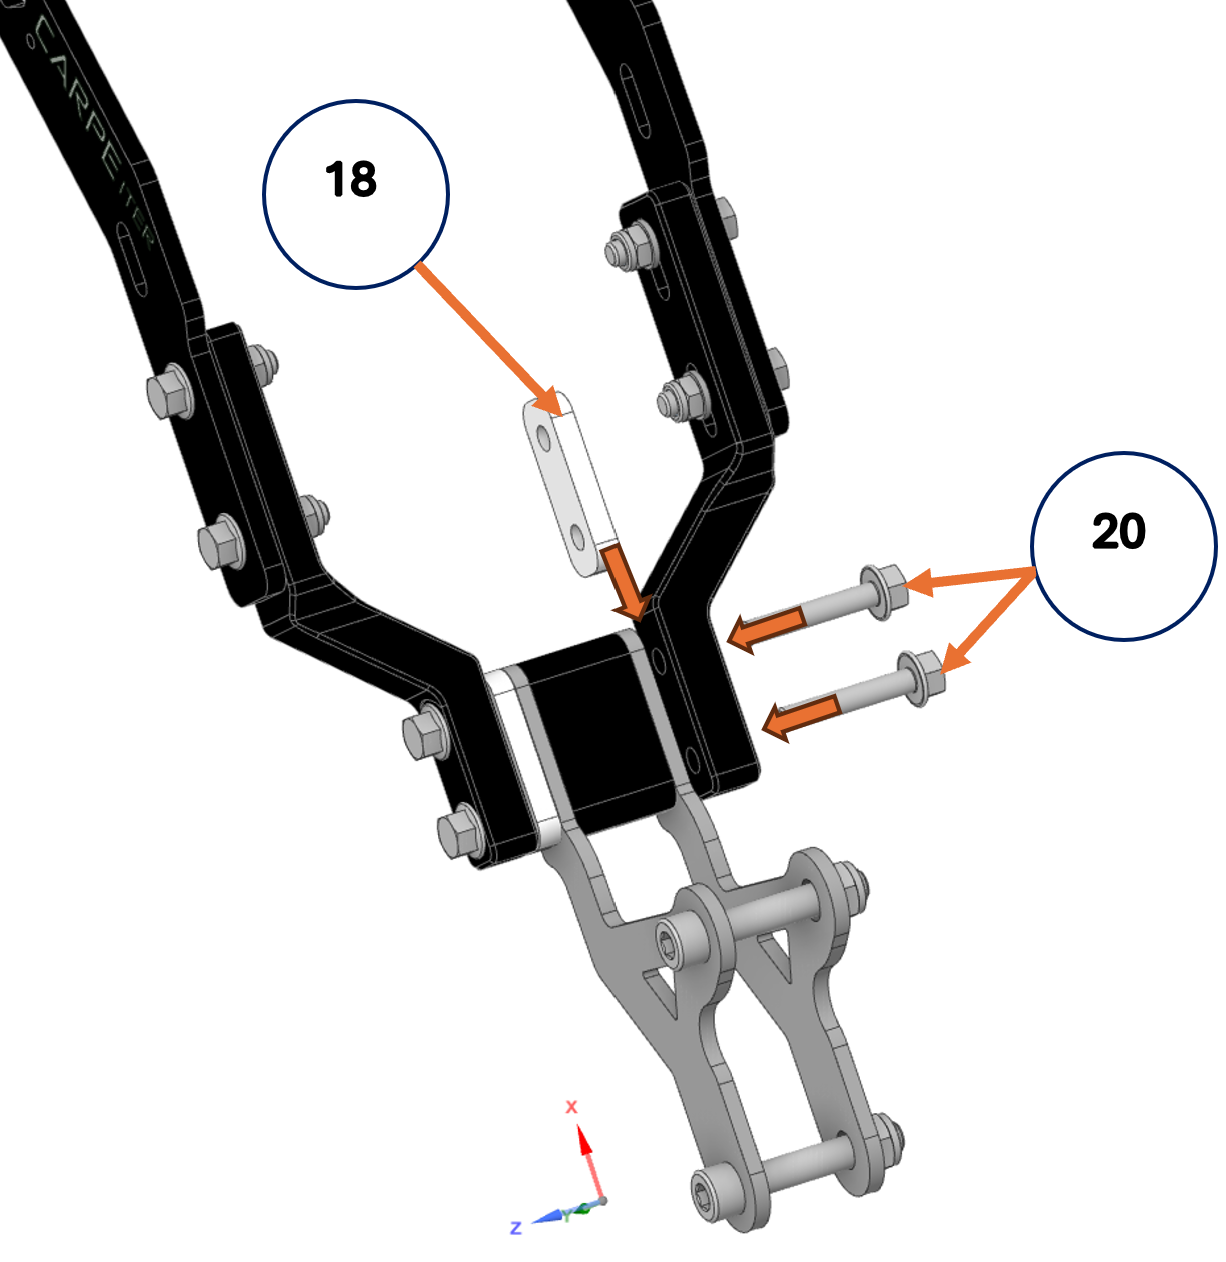
- Align the remaining spacer (#18) with the mounting holes in the mask mount (#14) and attach the right side of the bracket using the M6 mounting screws (#20). Leave some slack for final alignment.
Attach cockpit reinforcement (#21):
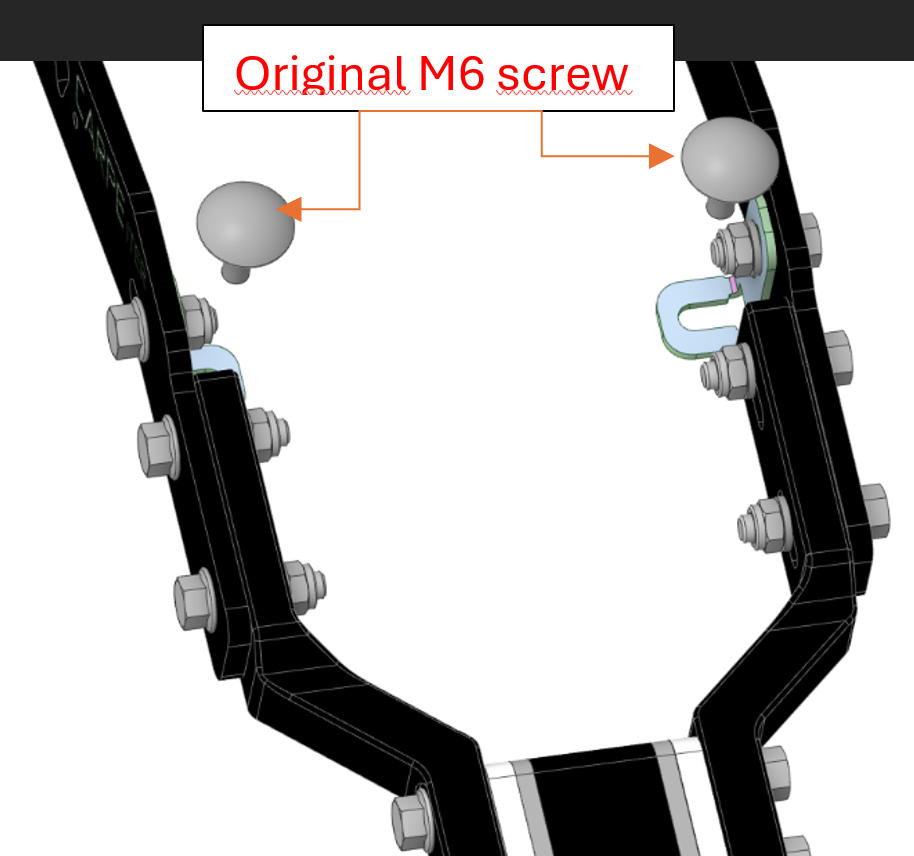
- Attach the cockpit reinforcement (pre-mounted to the bracket in step 5) to the bike cockpit.
- Use the stock screws removed in step 3.
- Do not torque the screws yet; leave slack in the assembly.
Align and torque bracket assembly:
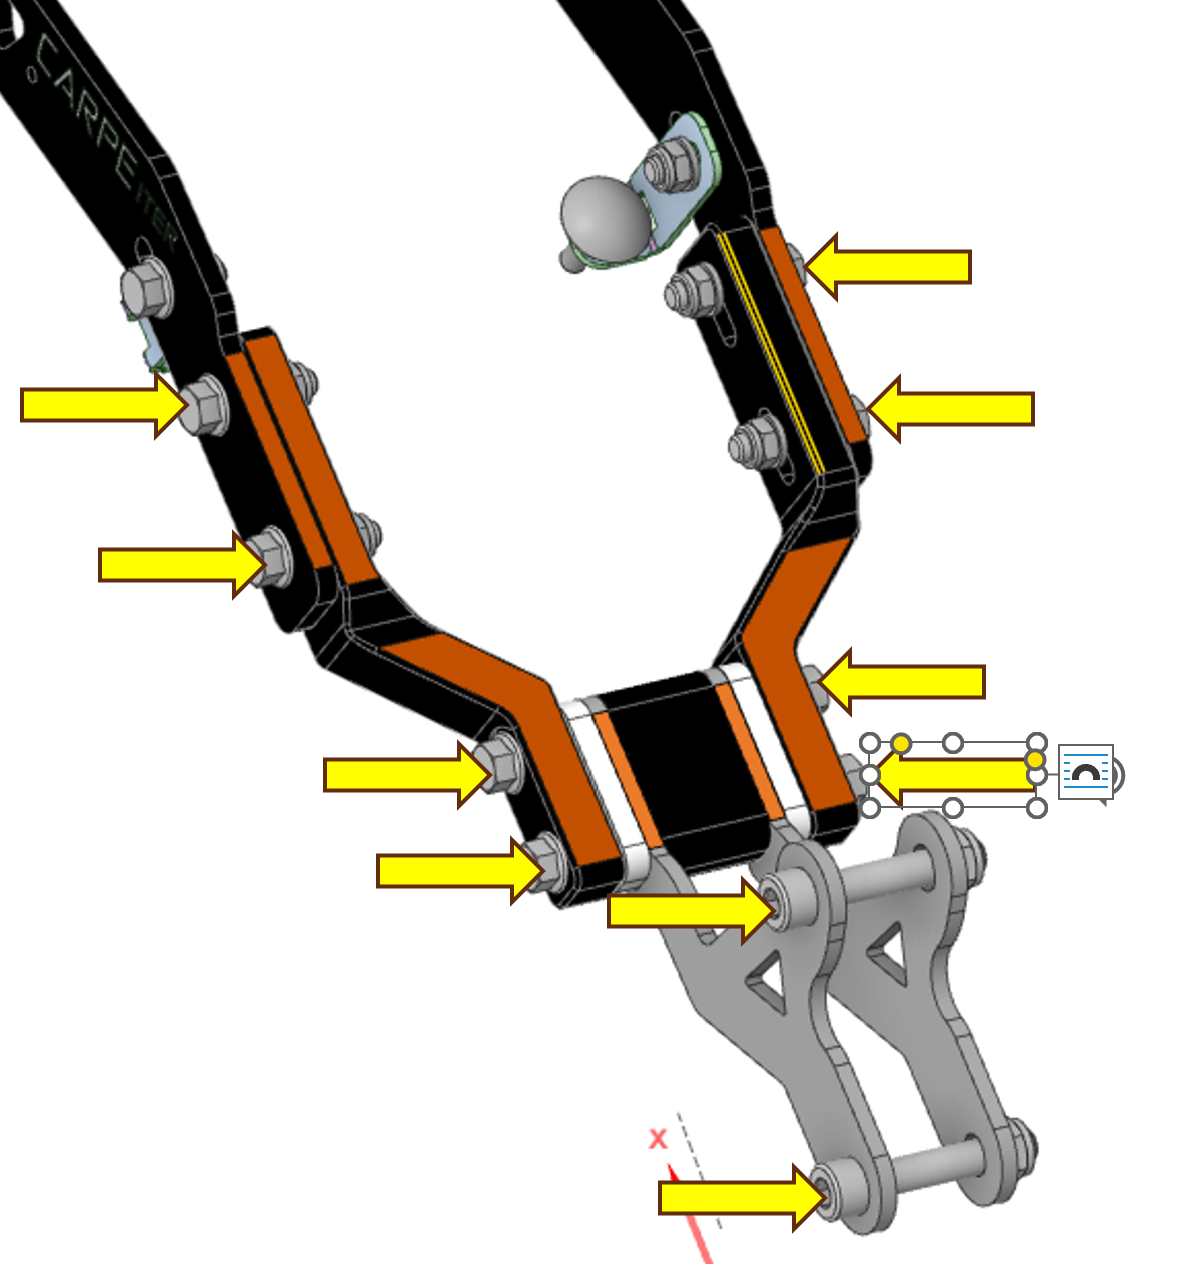
Align the bracket parts highlighted in orange and tighten the screws indicated by the yellow arrows (do not tighten the cockpit reinforcement screws yet).
Torque Specifications:
- M6 screws: 8 Nm
- M8 screws: 15 Nm
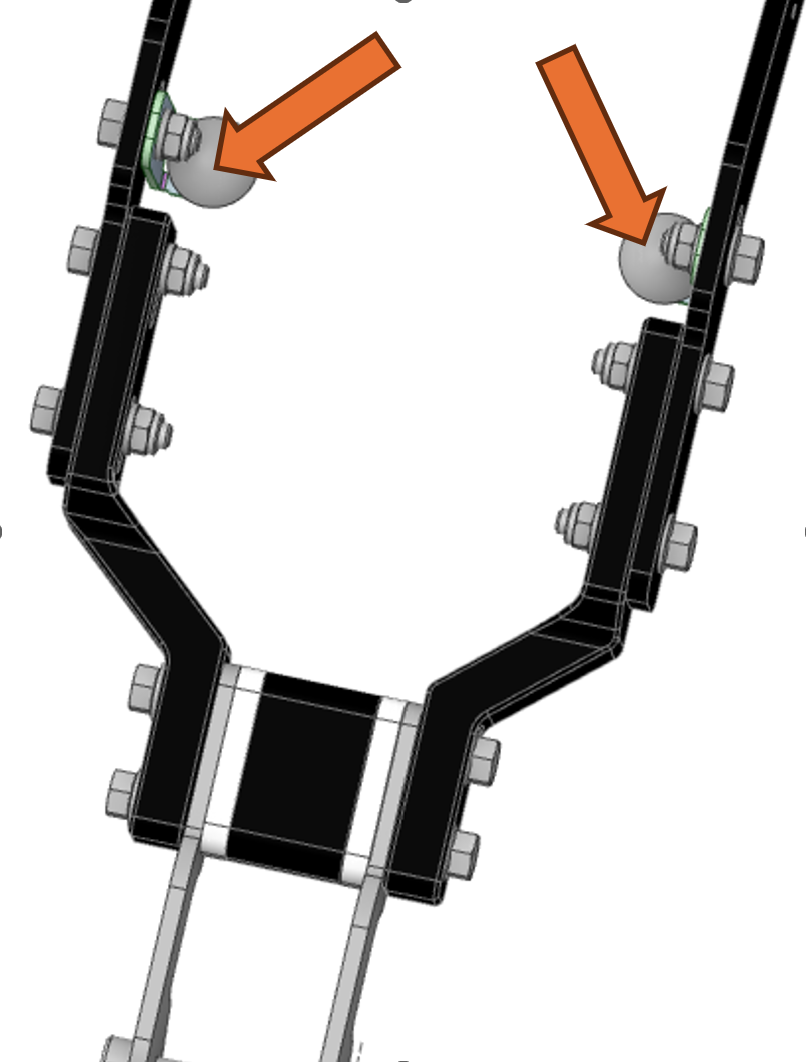
Torque cockpit reinforcement stock screws:
Tighten the stock screws attaching the cockpit reinforcement to the bike.
Recommended Torque: 4 Nm
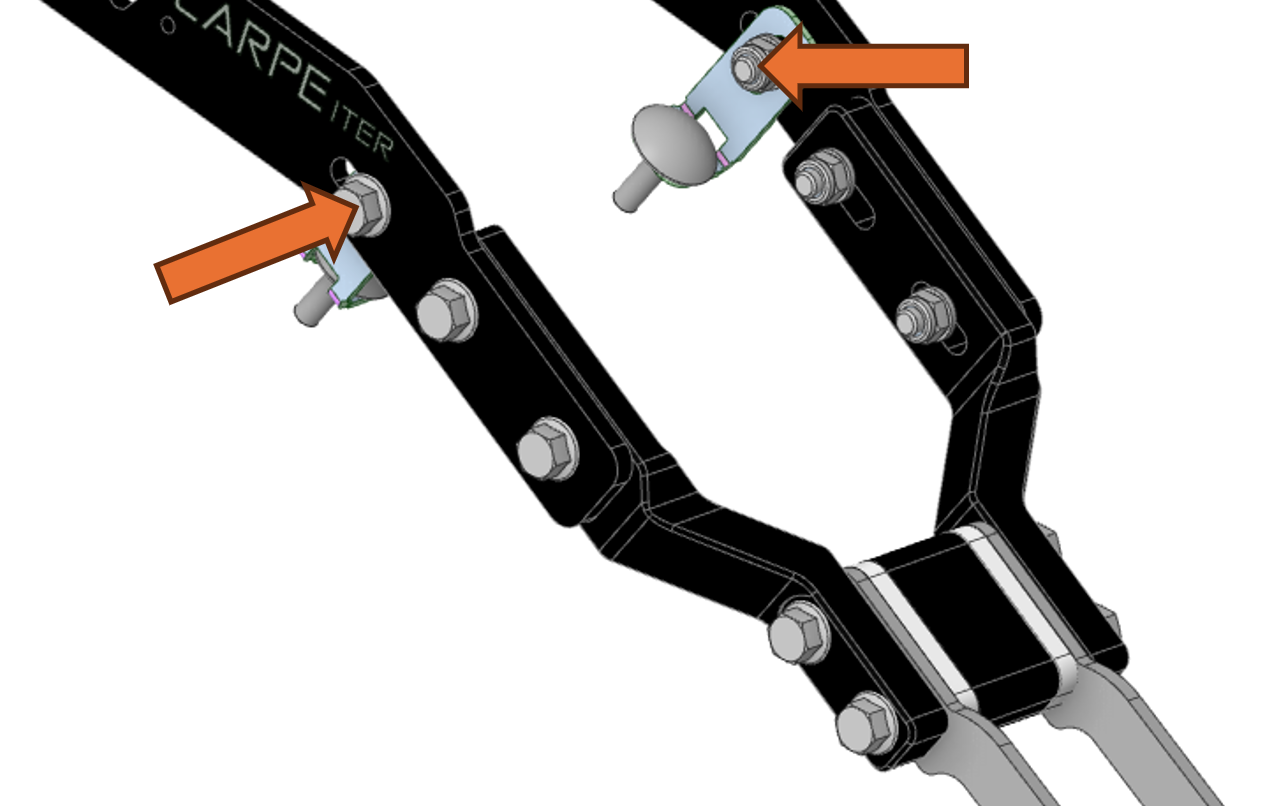
Torque cockpit reinforcement bracket screws:
Tighten the screws securing the cockpit reinforcement to the bracket.
Recommended Torque: 8 Nm
Attach GPS platform:
- Adjust the width between the left and right sides of the bracket if necessary, and set the GPS platform angle as desired.
- Torque the retaining screws (#8) to 2 Nm.
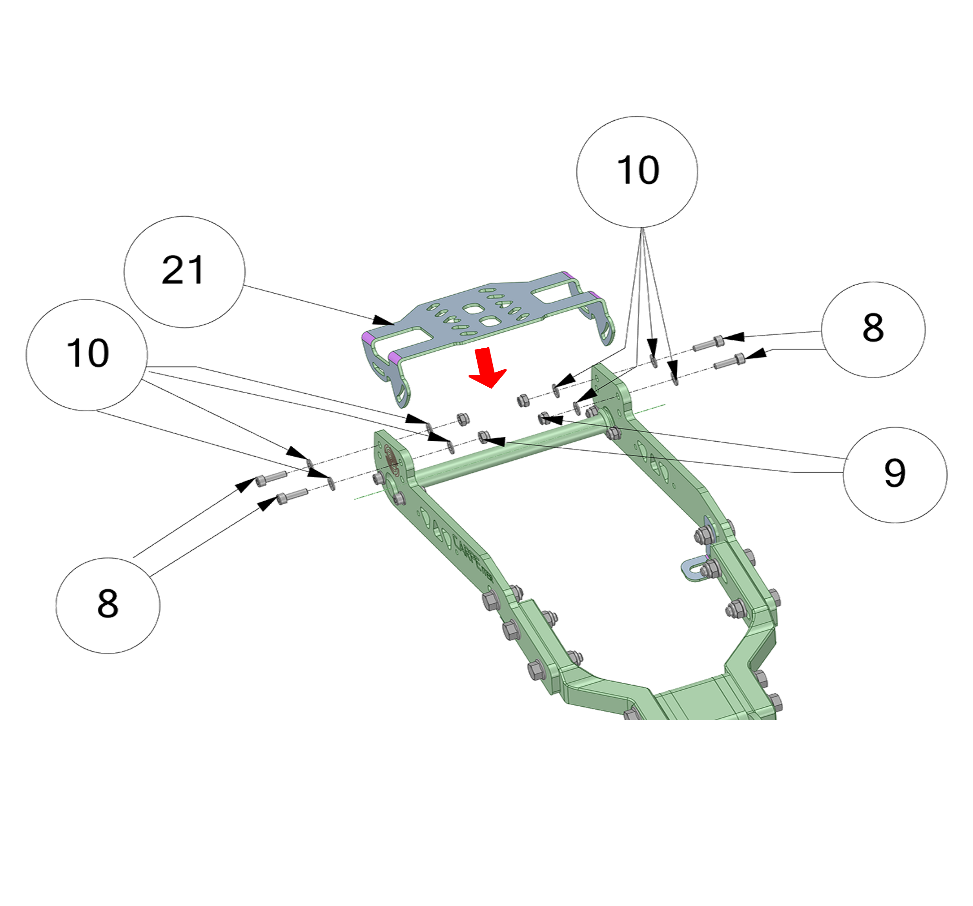
The GPS platform can be installed in either the upper or lower mounting position:
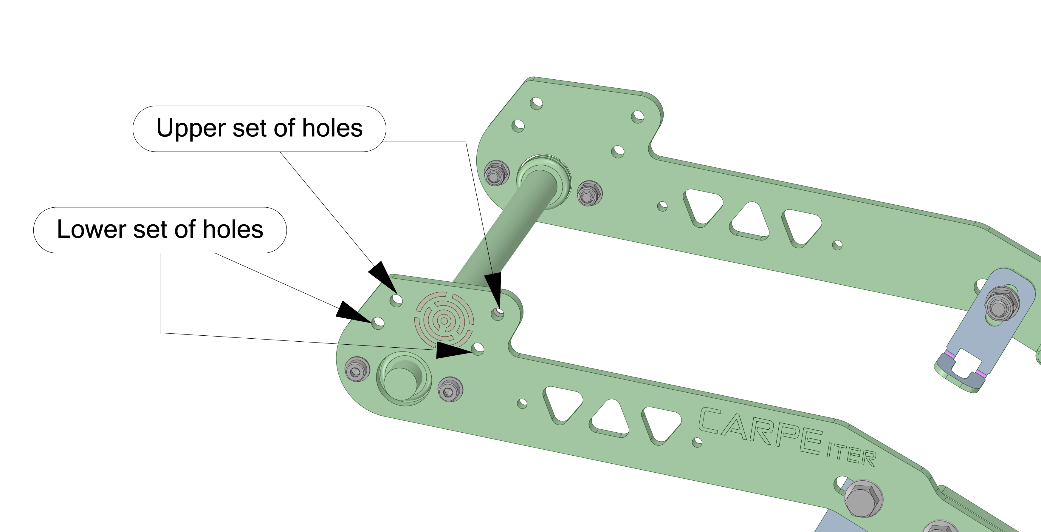
Mounting Position Note: For mounting the Carpe Iter Lightweight Holder or other devices with a larger footprint, always use the upper position (upper set of holes). The lower position brings the GPS platform closer to the dashboard and allows for minor angle adjustment.
Reinstall the windscreen.
Parts Overview
All hardware is constructed from aluminum or stainless steel.
| Part Picture | Qty | Assembly No. | Description |
|---|---|---|---|
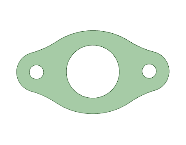 | 2 | 4a | Stainless steel plate |
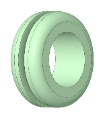 | 2 | 4b | Rubber grommet |
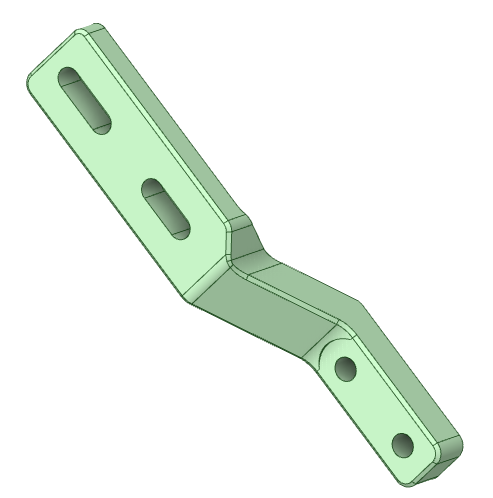 | 1 | 2a | Left Leg (left and right legs are non-identical) |
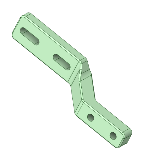 | 1 | 2b | Right Leg (left and right legs are non-identical) |
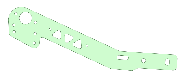 | 2 | 1 | Left and right side bracket plates (Carpe Iter logo facing outwards; left and right sides are non-identical) |
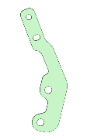 | 2 | 14 | Mask mount |
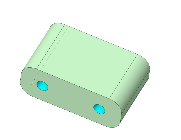 | 1 | 19 | Stand-off 27mm |
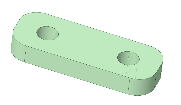 | 2 | 18 | Spacer 6mm |
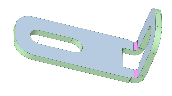 | 2 | 3 | Cockpit reinforcement |
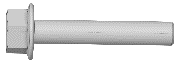 | 4 | 24 | M6x35 bolt |
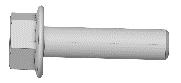 | 4 | 5 | M6x25 bolt |
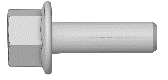 | 2 | 7 | M6x16 bolt |
 | 8 | 8 | M4x14 bolt |
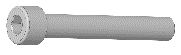 | 2 | 12 | M8x55 bolt |
 | 6 | 11 | Washer DIN 125-1 A 6.4 |
 | 16 | 10 | Washer DIN 125-1 A 4.3 |
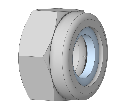 | 6 | 6 | M6 nut |
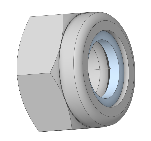 | 4 | 17 and 13 | M8 nut |
 | 8 | 9 | M4 nut |
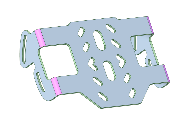 | 1 | 21 | GPS platform |
Was this article helpful?
That’s Great!
Thank you for your feedback
Sorry! We couldn't be helpful
Thank you for your feedback
Feedback sent
We appreciate your effort and will try to fix the article